

How to create a free, custom website in 15 minutes
Hosting, deployment, etc. is all zero cost. Domain name optional.


Humble beginnings
I built my first website in 2006.
And by that I mean, I used a free web hosting service to publish my site for me.
There were very few templates from which to choose, and intrusive ads I didn't like ran on my website constantly.
The service I used was a product of Bravenet, Bravehost. It was very... 2006.
It was serviceable, but not ideal.
A free option without ads!?
Soon thereafter I began to pursue a solution for free hosting with no ads served. The closest I ever found was, of all things, Tumblr. Not only could you use a custom domain name for free (example.com) but you could even use custom redirects (example.com/forward), however, both features have since unfortunately been sunsetted.
Tumblr is surprisingly robust and there are a wealth of custom themes, which you can even edit to create your own themes or even make them from scratch.
However, Tumblr has its own limitations. If you want a blog, it has to be on the homepage. You can completely cut out the blog functionality though if you'd like (although that may be against their terms of service, I'm not entirely sure), and they lock down certain features you can add to normal websites.
Something truly better
I used Tumblr for years, but finally I found a superior solution that allowed for free hosting, and all of the features of a standard website you could imagine with no strings attached.
A combination of GitHub and Netlify.
I had learned about Git and had used it for game-related passion projects, and realized how truly powerful it was.
Let's be clear about something here - I'm a marketer, not a developer. But some very patient coders walked me through how Git worked and now I use it for a lot of things!
GitHub itself has a website hosting feature, but requires your repository to be public for free accounts. If a repository is public, the source code is open to everyone and users are free to download it, fork it, clone it, etc. This basically means it can be freely copied.
This is when a good friend introduced me to Netlify. It integrates directly with GitHub, and will deploy any repository (public or private) as a website, even allowing for a custom domain name.
So today, I'd like to share this with all of you.
Prerequisites
A PC
Git software like SourceTree or the GitHub desktop app
A text editor like Notepad (I recommend Visual Studio Code)
Optional: a domain name (like example.com) - I use the domain registrar service iwantmyname.com
Of the above, the domain name is the only item that's not free, but it is optional. You can use something like yourname.netlify.app if you'd like. But domain names can be as cheap as $15 a year - and I totally think it's worth it!
Build your website
Now you have everything you need to get started! I realize some of this can seem intimidating to get into, so as a relatively tech-savvy non-dev, I'll assume you're a tech-savvy non-dev too.
Step 1: Decide what kind of website you want
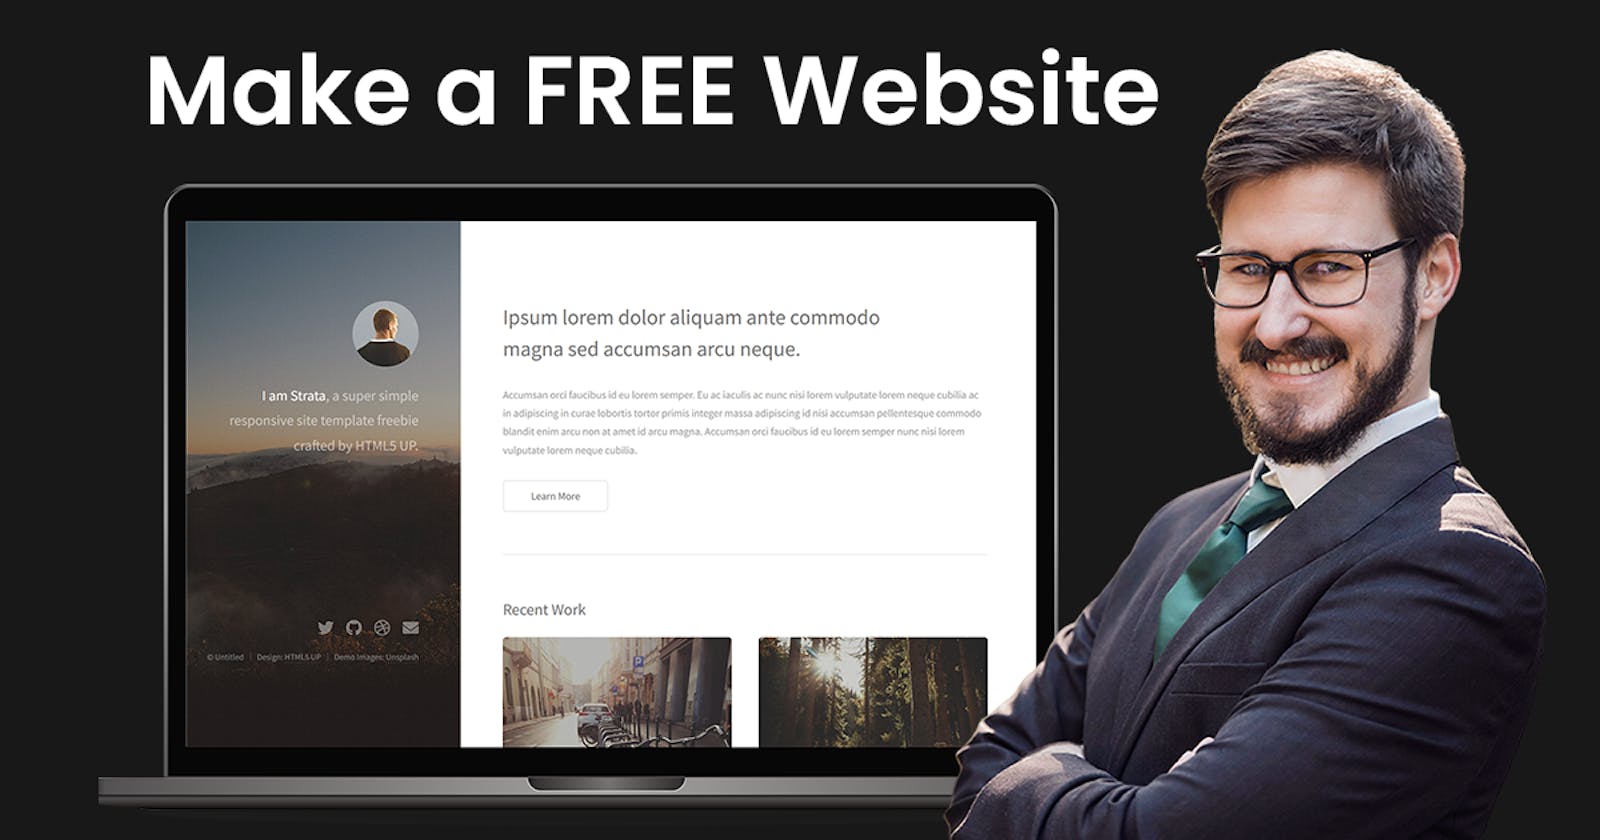
Browse websites like HTML5UP that provide free HTML5 templates to use. Make sure you're reading the license agreement - in the case of HTML5UP, you'll want to attribute the template creator, usually by linking to their site in your website footer. You can see an example of this on this site I created for Super Smash Bros. Melee players, blippi.gg.

Once you find a template you like, understand the license agreement, and download the template. Save the files somewhere you can remember, and extract them if it's in a .zip file. We'll use "Strata" for our example.

Step 2: Create a GitHub project
Visit GitHub.com and select "New repository" from the + drop down menu on the top right.

Name your project whatever you'd like, and include a description if you want. I'm naming my website melee-center. Select "Private" to create a private repository.


Select the checkbox next to "Add a README file."
You can ignore the rest of it, and click Create repository.
Now you should see your new repo with a single README.md file in it.

Step 3: Add a new site on Netlify

Under "Sites" select "Add new site" and pick "Import an existing project" from the list.
Sign into GitHub and connect your account to Netlify.
Then, select the repo you created from the list.

You can ignore the next screen and just click "Deploy site."
Step 4: Use Git to push your first website commit
Use Git software like SourceTree to push your website template files to your new GitHub project.
With both SourceTree and the GitHub desktop software, you'll want to sign into your GitHub account. On SourceTree you can find that under Tools > Options > Authentication.

Click File > Clone / New. Then visit your GitHub project, under the "Code" dropdown menu, copy the HTTPS URL for your repo. It should be something ending in .git.

Then paste the URL into your Git software and click Clone. Take note of the path it lists, either remember it, or define your own path (usually it's something like C:\Users\YOURNAME\Documents\YOURPROJECTNAME). This will be your website's root directory.

After not too long, you'll see the same README.md file you created on GitHub when you initialized the repo.

Once that's finished, simply copy and paste the extracted files from the website template you downloaded to the root directory of your repo. It should look something like this:

Once SourceTree identifies the changes you've made, click Stage All, and then "Commit" on the top left.

You can see a preview of all of the files you're about to push for your commit on the top.
Below you'll want to check the box that says "Push changes immediately to origin/master" and include a short summary of your changes (this is just for you, and can be helpful reference later). Then click Commit on the bottom right.

Once that's completed, your first push is done!
Step 5: View your live site and set your unique site name
Visit your Netlify site and find Site Settings. Under Site details, click "Change site name."

There's some default gibberish as a placeholder which you can replace with whatever you want that's available. I'm using melee-center for my example, which makes the final URL melee-center.netlify.app.

Once you've set your custom name, visit that URL and see your live site! It should look similar or identical to the template that you selected.

Step 6: Make changes to your site
Once you've confirmed that your site is up and live, now it's time to customize it.
This may require some basic HTML editing skills, but honestly you can just start replacing text and see what happens. It may benefit you to take some basic courses in HTML and CSS if you'd like, but honestly just replacing what's there can work also.
If you're not sure where to start, find the index.html file from the template you downloaded on your computer and open it in Notepad (or even better, Notepad++ or Visual Studio Code).

If you have the index.html file open in your text editor and in a browser side-by-side, you can preview the changes you're making to your site in near-real time by saving the file and refreshing it on your browser. Here's an example of me replacing the headline from this:

To this:

To see your changes, simply hit CTRL+S in your editor to save your changes, and then hit CTRL+R on your web browser to see the changes.
Once you're happy with the changes you've made, go to SourceTree and click "Commit" on the top right, "Stage all," make sure the box is checked, write a brief summary of your changes, and click Commit on the bottom right, and your change should be live on your website in seconds.

You can make as many changes as you'd like! If at any point you make a mistake, you can revert to a previous state with Git (I won't cover that in this guide, though. Google is your friend).
Step 7 (Optional:) Setup your site with a custom domain name you own
This is useful if you own a .com or another TLD and want to use it for your site. You can also do this with subdomains (like site.example.com).
In Netlify, you'll want to go to Site settings > Domain Management and select Add custom domain.

Type in the domain name you own that you want to use. In my example, I'm using melee.center.

Once you click Verify, Netlify will tell you it's already registered and prompt you to configure your DNS settings. Click Add Domain.
Next, you'll want to visit your domain registrar's website and manage the DNS settings. I enjoy using iwantmyname.com but some other common registrars are GoDaddy, Google Domains, or NameCheap.

Via what Netlify recommends, you'll want to create two A records (or edit existing A records) for @ and www. For me it told me to use 75.2.60.5 as the value for each.

Save your DNS settings!
After you do this, return to Netlify and request a SSL certificate. This is an important step if you care about a good experience for your visitors. If you don't enable HTTPS for your domain, you'll only have HTTP and risk browsers telling your users that your site isn't safe.
Scroll to "HTTPS" under Domain management and click Verify DNS configuration.

Click "Provision certificate" and see if it works. If you get an error message, it may just be because the DNS settings haven't fully propagated yet. In my experience it usually takes under 5 minutes, but maybe give it an hour or so.
Once it's been provisioned, you'll see a message like this:

And that's it!
You now have a live, working site you can do anything with. I hope you got value out of this guide and it wasn't too cumbersome or intimidating.
There are many other steps I recommend to maintaining and tracking any site, including installing Google Analytics, Tag Manager, adding metadata and alt text to images, etc.
If you'd like to learn how to do all of those things, you can check out my video course CheapMarketing.io and learn all about it!